These are instructions for embedding media in the Block Editor. If you are using the Classic Editor, please refer to those instructions as they differ.
The block editor interface is not as intuitive when it comes to embedding media as it is for authoring a Page or Post. There are two primary types of media that users commonly embed: 1) images or 2) other multimedia.
Images
Embedding an Image in your Post or Page
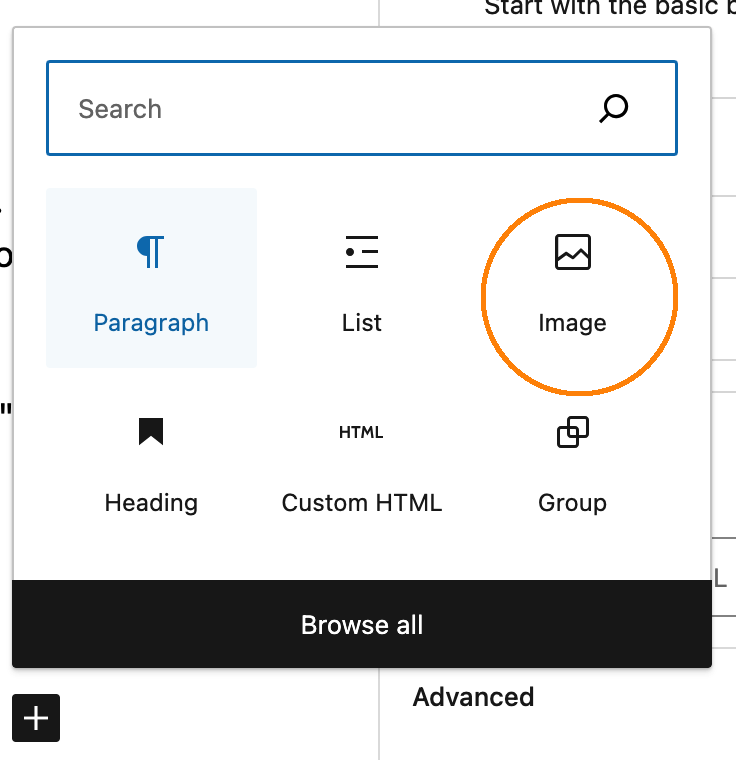
1. In your new page or post, Add a Block and select Image.
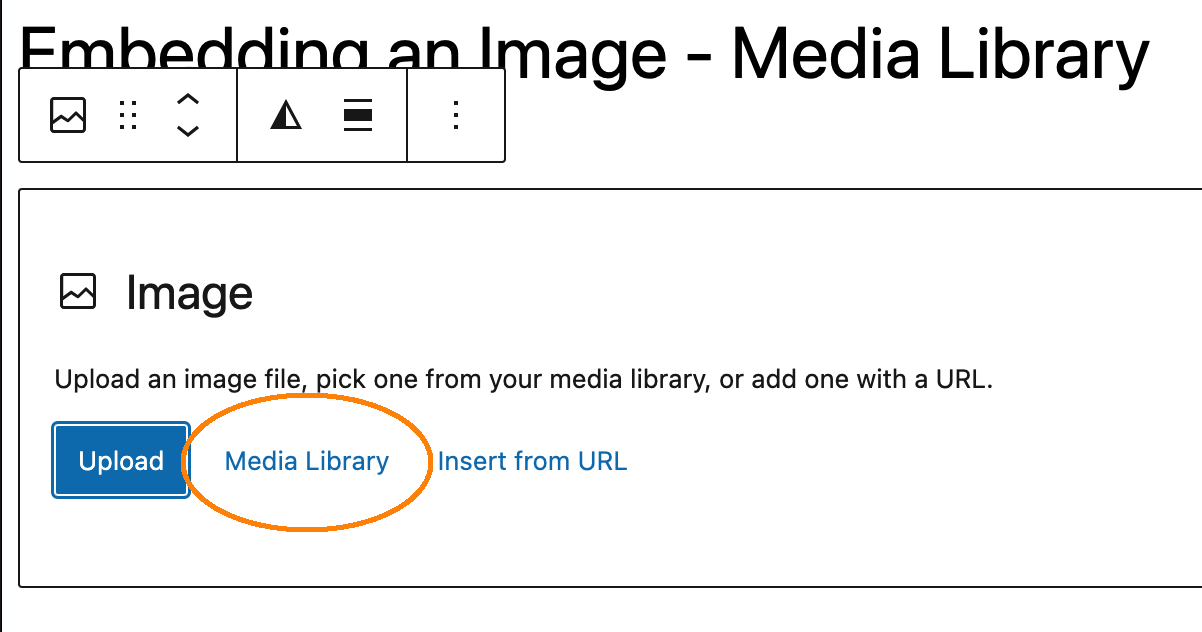
2. Click the Media Library button.
(Note: You can technically use the Upload button instead of the Media Library button to accomplish the same goal, but it is not recommended. When you upload a file to the Media Library, all the information you include about that file stays with the file. When you upload it directly into your page or post, the information you add about the image only pertains to that one page or post. In other words, you would have to reenter the information if you embedded it in another page or if — heaven forbid — you accidentally deleted it.)
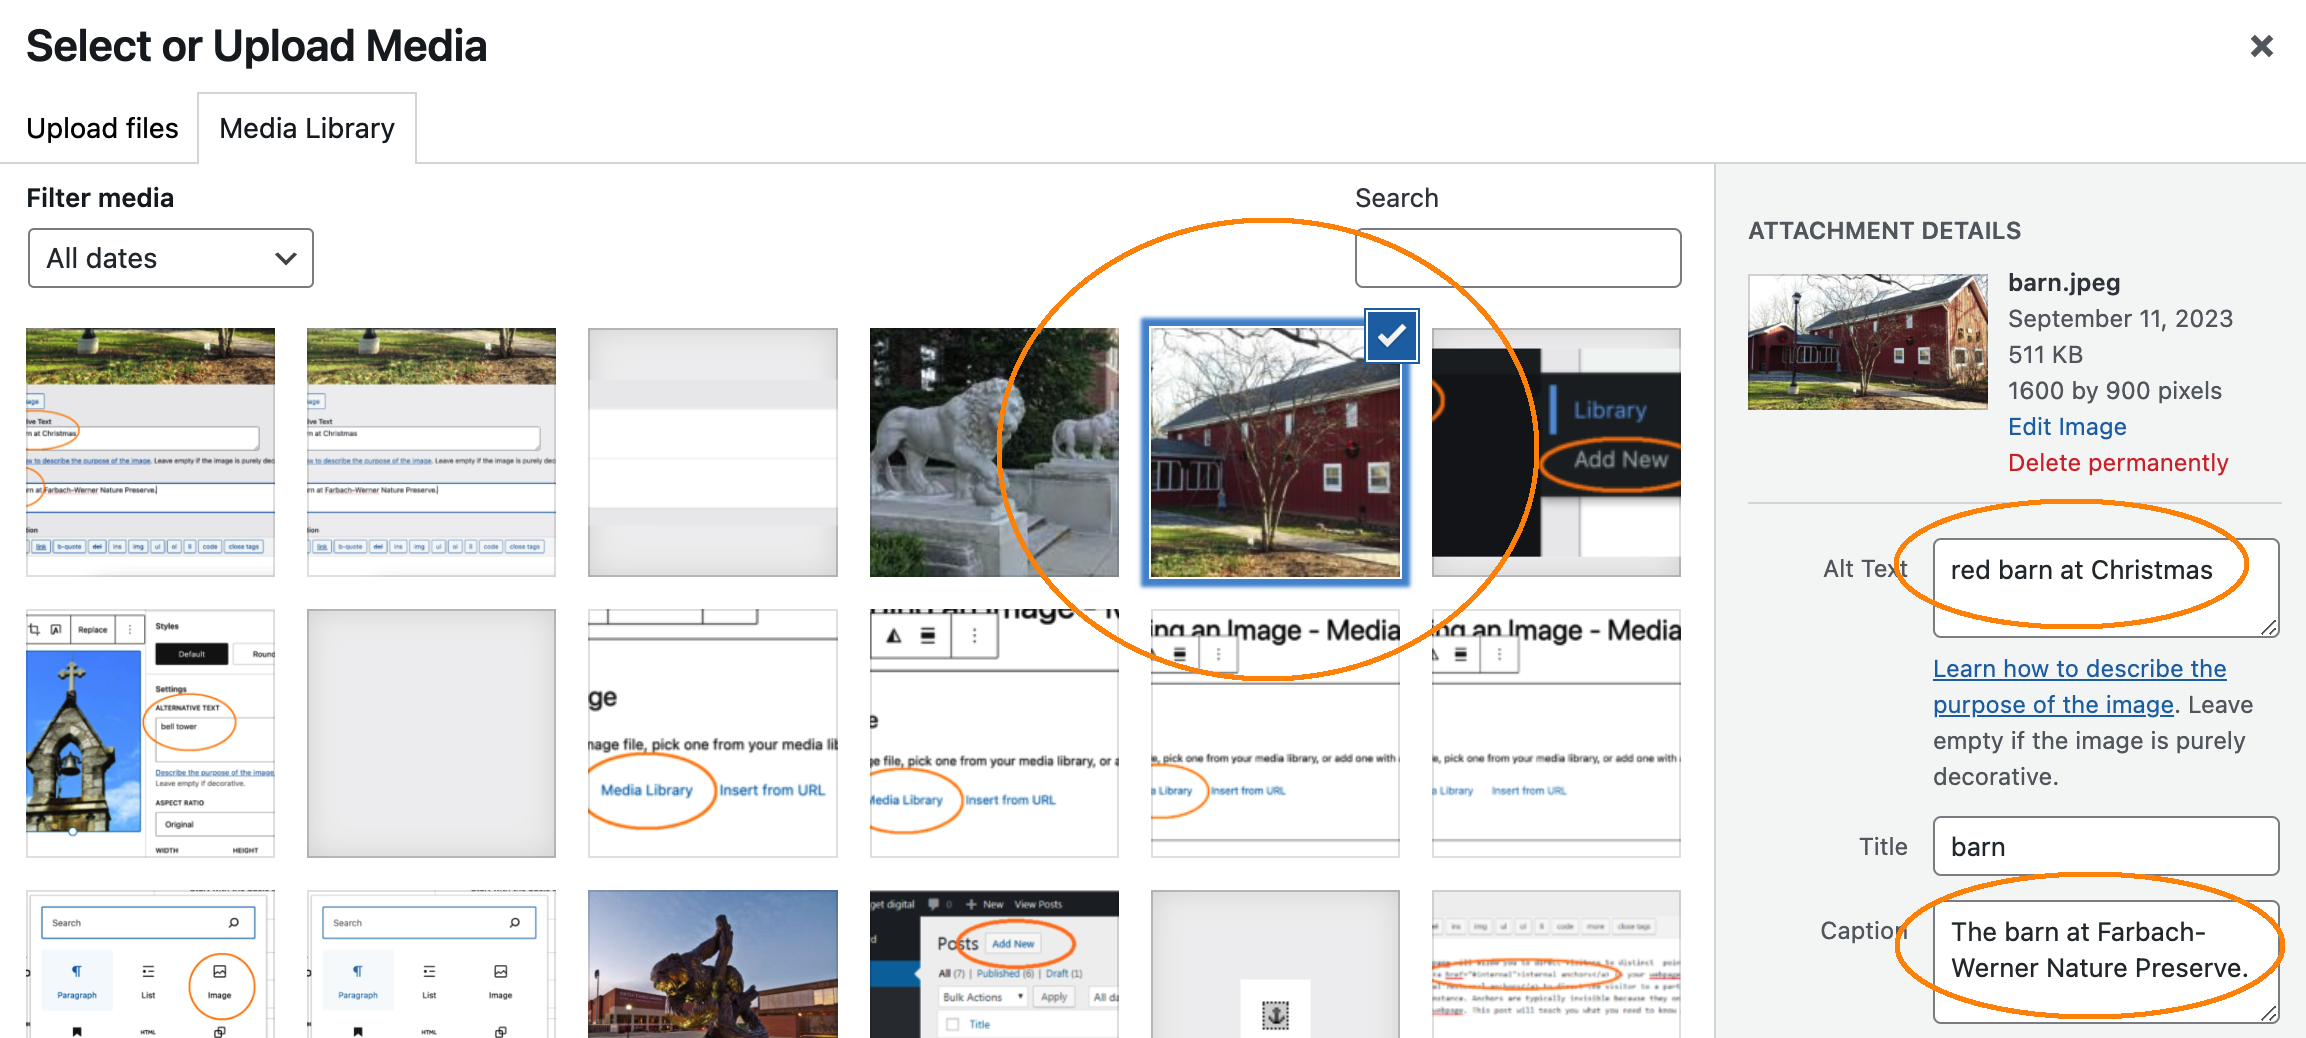
3. You will now see the whole Media Library with all the images or other multimedia that has been previously uploaded into the site. If you already uploaded your file previously, you may select it now. If you have not, then you will select the Upload Files tab. You may either drag and drop your file into the box where prompted or upload from your system. You may upload more than one file at once.
4. After uploading your file(s), you will be directed back to the Media Library where you will be prompted to provide more information about your file(s). Making sure your media file is accessible is one of the most important components of uploading a file. For instance, how would a blind person visiting your site know what your image contains?
Filling out the “Alt Text” field allows electronic screen readers to read a description of your image. Scroll down the edit page to add your Alt Text and Caption to the photograph. You may put any other relevant information in the Description field. Hit the Select button to insert the file into your page or post. (Please refer to the Guidelines for Alt Text for more information.)

Your file is now in the Media Library with all the pertinent information and fully accessible. Way to go! If another user wants to use your file, or you want to embed the same image in more than one place, all the information will remain attached to your image.
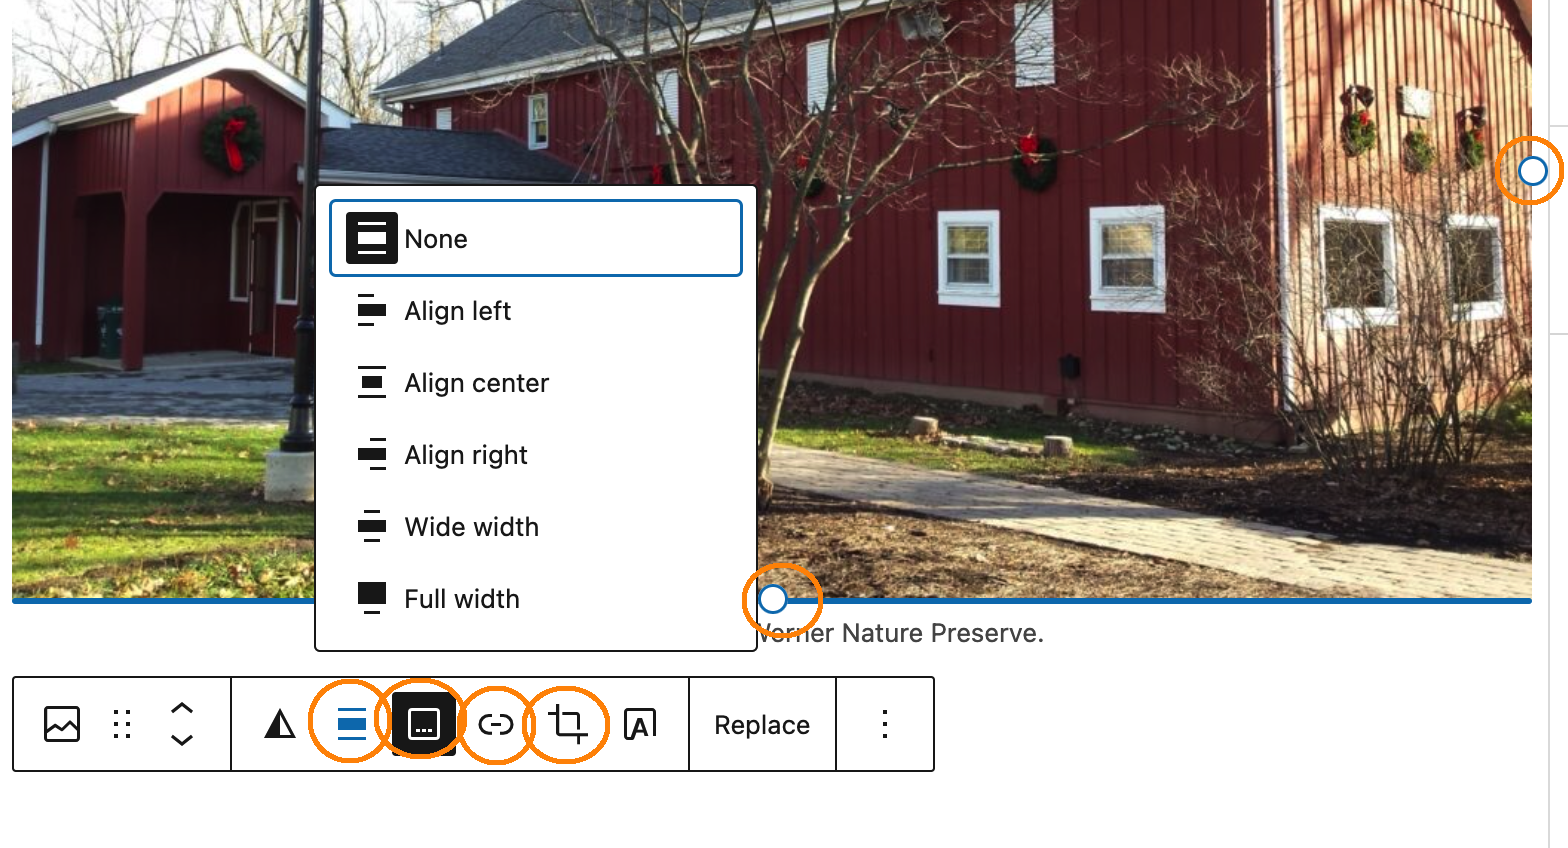
5. You now have some options to customize the appearance of your image. If you want the text to wrap around your image, you can select the Align Right or Align Left justifications. You can also toggle on / off your caption, turn your image into a hyperlink to specific site, or use the rudimentary cropping tool. You can also adjust the size of your image by sliding the blue circles on either side of your image.
Continue to tinker with the layout of your page or post by clicking around on the other features available.
6. Be sure to press Publish or Update often and preview your page or post to make sure you’re customizations are playing nicely with the formatting.
If you have multiple images, you may want to consider Creating a Media Gallery.
Other Media
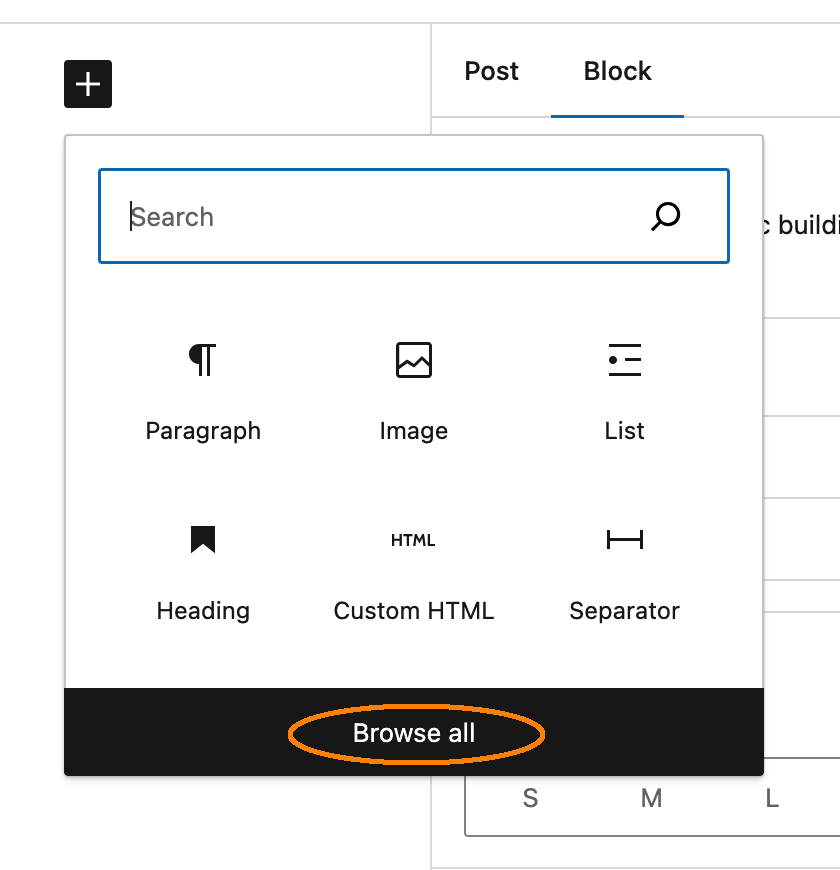
1. If you have media besides images, there are other ways to embed your media. Add a New Block and press the Browse All button to see all the block options.
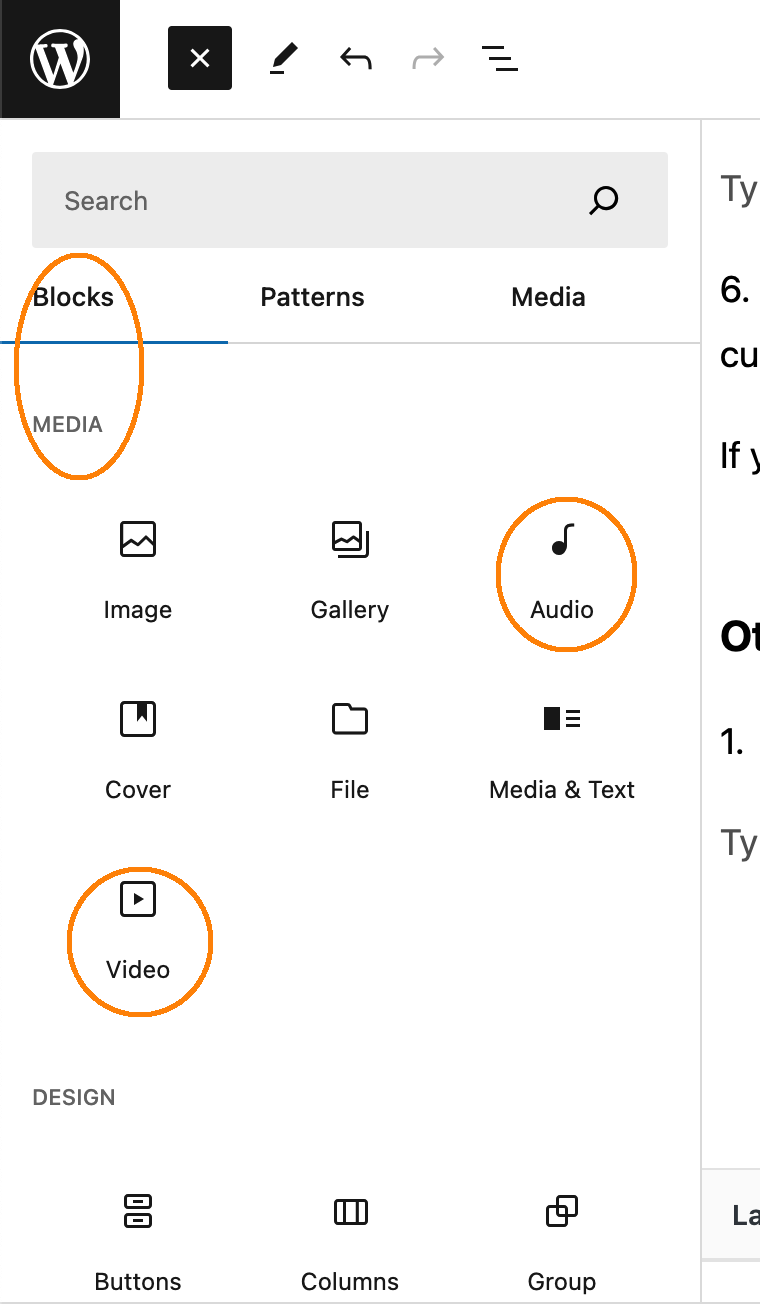
2. A new area will open in the left sidebar where you can Browse All the block options. Scroll down until you get to Media. You will see some familiar options like Image and Gallery. You will also see where you can upload other original Video or Audio. If you select one of these options, you will upload your Video or Audio into the Media Library exactly as you would an Image.
3. If you are trying to embed media directly from Soundcloud, YouTube, or Flickr, WordPress has preset blocks for that. Scroll further down the list until you get to Embeds for more options.
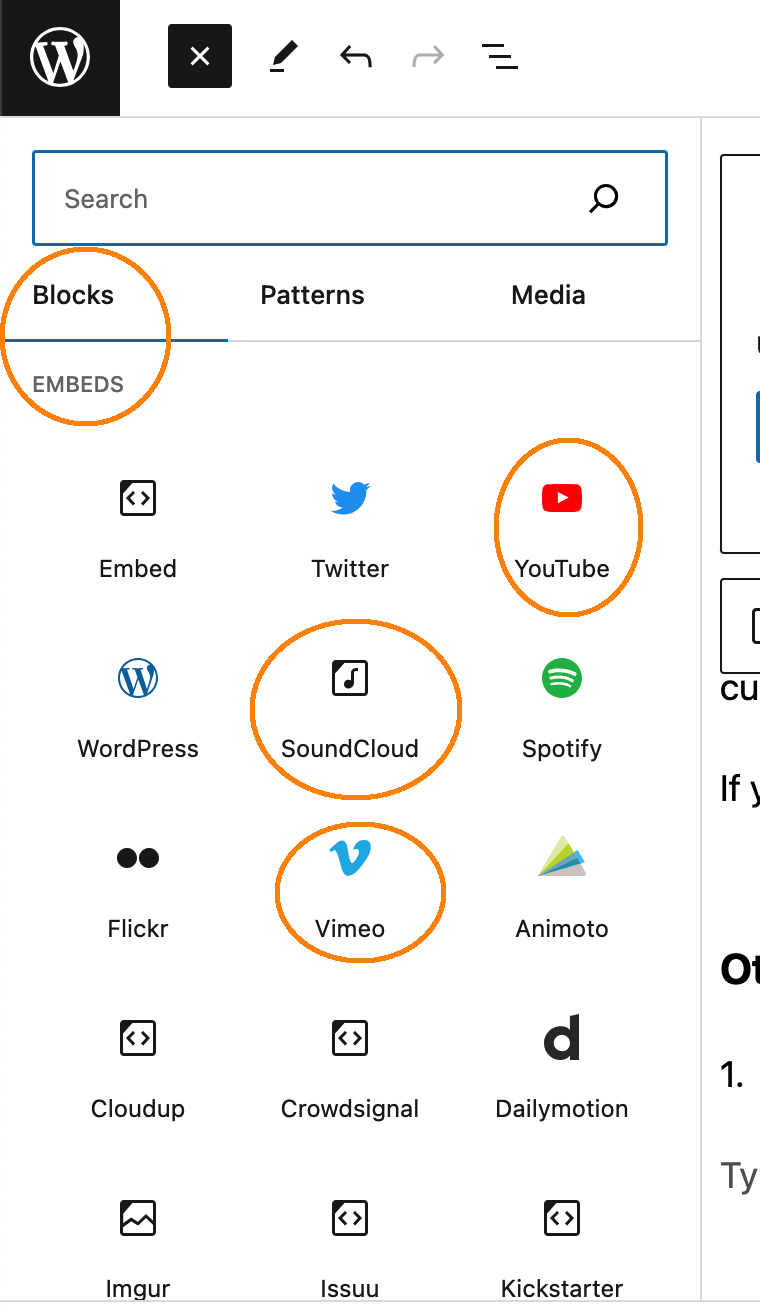
If WordPress does not have a preset for your specific media, you can choose the simple Embed option and paste in the iframe from your source.
4. Modify and customize your media as you would for an Image.