Pages are where all non-blog content gets built. For a lot of students doing digital projects, you may get your very own or a group page to develop. Even if you have the editorial privilege to edit someone else’s page, do not do this without their permission. There is versioning control and authors as well as the site administrator (your professor) have the ability to see who has edited the pages and when.
Here is how you set up your page:
1. From your WordPress dashboard, click on the Pages button on the left sidebar.
2. Click Add New.
3. Title: You will be prompted to add a title. I suggest that you keep your title brief, poignant, and accessible to a broad audience.
4. Permalink: Click into the white area. When you do, your Permalink will update to reflect the title of your page. You have a chance to change the slug, or the last part of the URL, to something shorter. Use the keywords from your title to create a memorable URL. Just remember, you cannot use spaces or special characters.

5. Drafting: The white space where you will do the bulk of your work should be a familiar interface. It’s a WYSIWYG interface similar to Microsoft Word or some other word processing software. (WYSIWYG is pronounced “wizzy-wig” and stands for What You See Is What You Get.) This means that you can bold, underline, and italicize your words or make hyperlinks through a clear, intuitive interface. Here are some pointers as you design your page:
- To use all the WYSIWYG functions, stay toggled in the Visual mode rather than the Text mode.
- You can copy and paste from other text editors, but keep in mind that some of the formatting may disappear.
- The majority of the tools in the toolbar should be familiar to you with the exception of the blockquote function. The blockquote allows you to accentuate certain parts of your text through different formatting. It can be used for longer quotes or sentences that you would like to call attention to. Use it sparingly.
- There are several tricks to embedding media that aren’t as intuitive.
- When you embed a link, be sure to click the gear icon to adjust the settings. If you are embedding a link that is internal to your website (i.e. the about page, home page, or another students’ page), you do not need to open a new tab. If you are linking to a site that is external to your website (i.e. a website that not controlled by the class), you will need to toggle the box to open the link in a new window. As a general rule, you do not want site visitors to navigate away entirely, so always direct the link to open in a new tab if you have an external link.
- If you need to make subheadings, select the text type from the drop-down on the tool bar. The default is “paragraph,” but you will likely find an acceptable option in the “Header 2” to “Header 3” range. “Header 1” is reserved for just the title of your project.
- Your page will automatically generate a large “Header 1” title based on the title of your webpage. You do not need to repeat it.

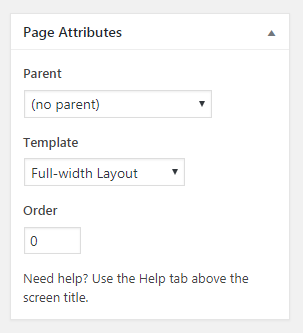
6. Page Attributes: Some WordPress themes give you the ability to determine the general layout of your page. You can choose the “template” on the right side of your screen. Common templates include “center,” “full width,” “left sidebar,” “right sidebar,” or “default.” The class should all settle on the same template. I recommend “full width” unless you have a compelling reason to include a sidebar.
The “Page Attributes” also let you select a “Parent” page. Imagine this as the drop-down menu on a website’s navigation bar. Does your project belong to a certain “parent” page, perhaps something along the lines of “student projects” or a more specific semester?

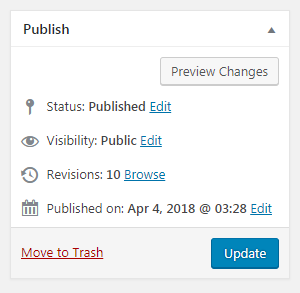
7. Publishing: You don’t have to publish your work right away. You can schedule a release date, save it as a draft, or adjust the privacy so that it is password protected or remains unpublished. Read more about your privacy rights here. Regardless, hit the Update or Publish button in the top right early and often. It is your only “save” function.
8. Have fun!